Angular Flex-Layout Angular Flex-Layout 原本是依附在 Angular Material2
可以到 Can I use 網站查詢。https://tburleson-layouts-demos.firebaseapp.com/
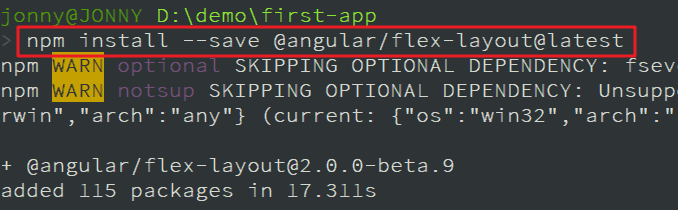
透過下列指令安裝,可以得到目前最新版本為 2.0.0-beta.9。npm install --save @angular/flex-layout@latest
FlexLayoutModule 加到 src\app\custom-material.module.ts,要使用時只到將 CustomMaterialModule 對應的模組內就可以直接使用。
custom-material.module.ts 1 2 3 4 5 6 7 8 9 10 11 12 13 14 15 16 import { NgModule } from '@angular/core' ;import { FlexLayoutModule } from '@angular/flex-layout' ;import { MdIconModule } from '@angular/material' ;@NgModule ({ imports : [ FlexLayoutModule, MdIconModule ], exports : [ FlexLayoutModule, MdIconModule ] }) export class CustomMaterialModule
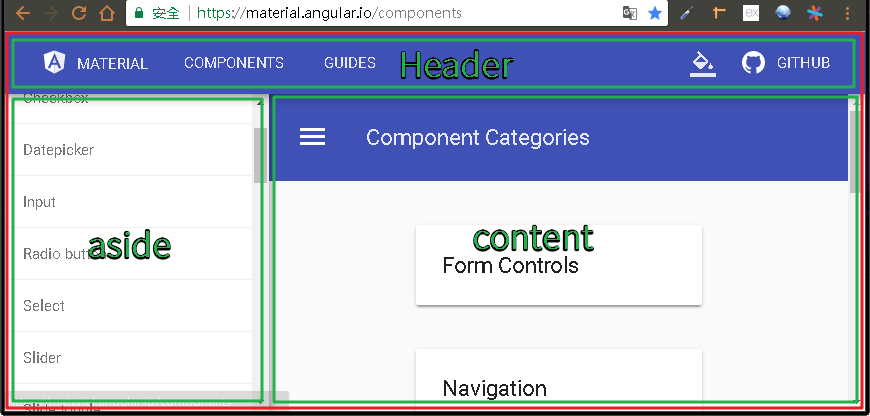
建立網站框架 我們可以看到大部分功能性網站都會如下圖一般,上方會有 header 區塊,側邊會有 aside 區塊,剩下最大區域就是呈現內容的 content 。
重置 將 md-icon 的圖示改回透過 https://fonts.googleapis.com/ 連結,開啟 src\index.html 修改成最初做法。
index.html 1 2 3 4 5 6 7 8 9 10 11 12 13 14 15 16 17 18 19 20 <!doctype html > <html lang ="en" > <head > <meta charset ="utf-8" > <title > FirstApp</title > <base href ="/" > <meta name ="viewport" content ="width=device-width, initial-scale=1" > <link rel ="icon" type ="image/x-icon" href ="favicon.ico" > <link href ="https://fonts.googleapis.com/icon?family=Material+Icons" rel ="stylesheet" > </head > <body > <app-root > </app-root > </body > </html >
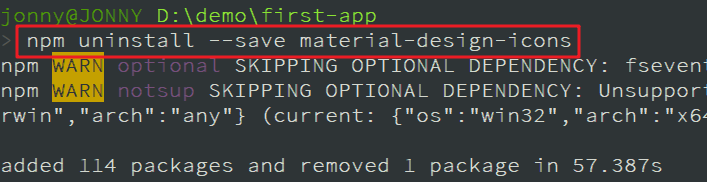
移除 material-design-icons 套件,執行下面指令:npm uninstall --save material-design-iconssrc\assets\iconfont 資料夾。src\styles.scss,將 P 的樣式拿掉,避免影響。
styles.scss 1 2 3 4 5 6 7 8 9 10 11 12 13 14 15 16 @import "~@angular/material/prebuilt-themes/pink-bluegrey.css" ;
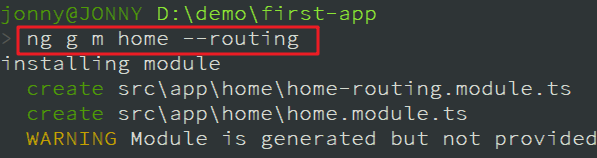
建立獨立模組與元件 建立一個 HomeModule 模組,指令如下:ng g m home --routing
--routing:跟 ng new 一樣,此參數會建立一個路由模組-HomeRoutingModule ,後續會在說明。
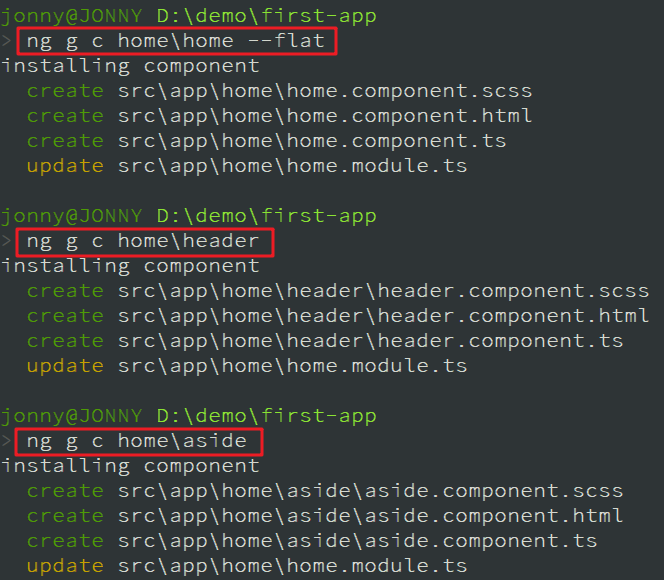
HomeModule 下分別建立 HomeComponent 、HeaderComponent 、AsideComponent ,其中 HomeComponent 不要建立資料夾,指令如下:ng g c home\home --flatng g c home\headerng g c home\aside
HomeModule 註冊到 AppModule 。
app.module.ts 1 2 3 4 5 6 7 8 9 10 11 12 13 14 15 16 17 18 19 20 21 22 23 24 25 26 27 28 29 30 31 32 33 34 35 import { BrowserAnimationsModule } from '@angular/platform-browser/animations' ;import { BrowserModule } from '@angular/platform-browser' ;import { NgModule } from '@angular/core' ;import { AppRoutingModule } from './app-routing.module' ;import { AppComponent } from './app.component' ;import { Page1Component } from './page1/page1.component' ;import { Page2Component } from './page2.component' ;import { Page3Component } from './page3.component' ;import { Page404Component } from './page404/page404.component' ;import { OperationModule } from './operation/operation.module' ;import { CustomMaterialModule } from './custom-material.module' ;import { HomeModule } from './home/home.module' ;@NgModule ({ declarations : [ AppComponent, Page1Component, Page2Component, Page3Component, Page404Component ], imports : [ BrowserModule, AppRoutingModule, BrowserAnimationsModule, CustomMaterialModule, OperationModule, HomeModule ], providers : [], bootstrap : [AppComponent] }) export class AppModule
修改 src\app\app-routing.module.ts,加入路由規則 home 對應到 HomeComponent ,並將 空白的路由規則導引到 home 路徑。
app-routing.module.ts 1 2 3 4 5 6 7 8 9 10 11 12 13 14 15 16 17 18 19 20 21 22 23 24 25 26 27 28 29 import { NgModule } from '@angular/core' ;import { Routes, RouterModule } from '@angular/router' ;import { Page1Component } from './page1/page1.component' ;import { Page2Component } from './page2.component' ;import { Page3Component } from './page3.component' ;import { Page404Component } from './page404/page404.component' ;import { Opt1Component } from './operation/opt1/opt1.component' ;import { HomeComponent } from './home/home.component' ;const routes: Routes = [ { path : '' , redirectTo : 'home' , pathMatch : 'full' }, { path : 'home' , component : HomeComponent }, { path : 'p1' , component : Page1Component }, { path : 'p2' , component : Page2Component }, { path : 'p3' , component : Page3Component }, { path : 'opt1' , component : Opt1Component }, { path : '404' , component : Page404Component }, { path : '**' , redirectTo : '404' } ]; @NgModule ({ imports : [RouterModule.forRoot(routes)], exports : [RouterModule] }) export class AppRoutingModule
pathMatch:表示路由規則比對模式,full 表示須完全相同。redirectTo ),都會加上 pathMatch: 'full' 的參數,萬用路由因為無法明確比對,所以可以不加,最簡單的方式就是一律加上去。
修改 src\app\app.component.html,只保留路由插座 (router-outlet )。
app.component.html 1 2 3 4 5 6 7 <router-outlet > </router-outlet >
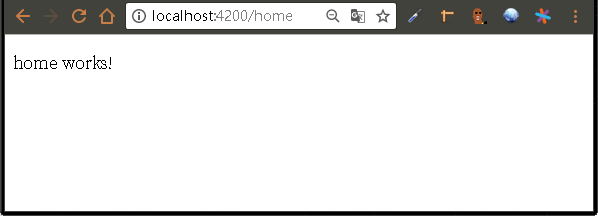
執行測試,會發現 http://localhost:4200/ http://localhost:4200/home HeaderComponent 的樣板。
切版 因為會使用到 Angular Flex-Layout 所以將 CustomMaterialModule 註冊到 HomeModule (src\app\home\home.module.ts) 內。
home.module.ts 1 2 3 4 5 6 7 8 9 10 11 12 13 14 15 16 17 18 19 20 21 22 23 import { NgModule } from '@angular/core' ;import { CommonModule } from '@angular/common' ;import { HomeRoutingModule } from './home-routing.module' ;import { HomeComponent } from './home.component' ;import { HeaderComponent } from './header/header.component' ;import { AsideComponent } from './aside/aside.component' ;import { CustomMaterialModule } from '../custom-material.module' ;@NgModule ({ imports : [ CommonModule, HomeRoutingModule, CustomMaterialModule ], declarations : [ HomeComponent, HeaderComponent, AsideComponent ] }) export class HomeModule
修改 src\styles.scss,將 html、body tag 高度設為 100%,並取消邊界。
styles.scss 1 2 3 4 5 6 7 8 9 10 11 12 html ,body { height : 100% ; margin : 0px ; } @import "~@angular/material/prebuilt-themes/pink-bluegrey.css" ;
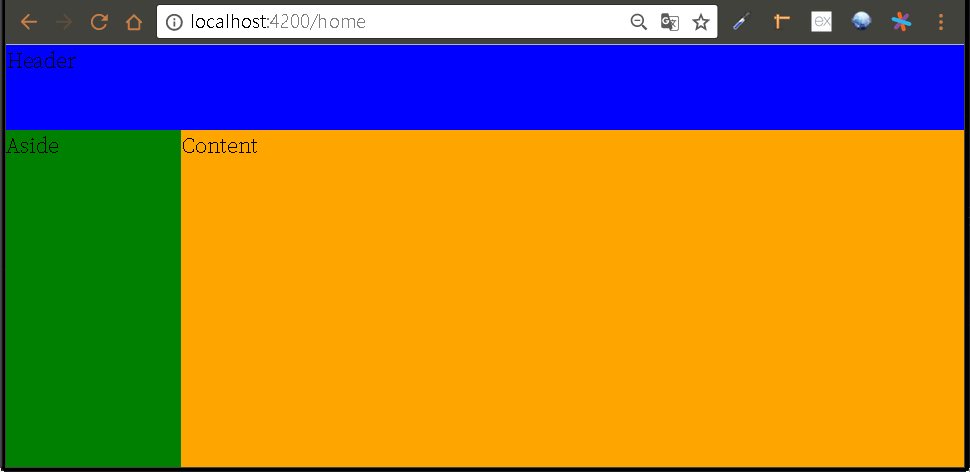
修改 src\app\home\home.component.html,將其切成3個區塊,並在樣式檔 src\app\home\home.component.scss 內加入背景顏色以檢視版面是否正常。
home.component.scss 1 2 3 4 5 6 7 8 9 10 11 12 13 14 15 16 .layout { background : black; .header { background : blue; } .main { background : grey; .aside { background : green; } .content { background : orange; } } }
home.component.html 1 2 3 4 5 6 7 <div fxFill fxLayout ="column" class ="layout" > <div fxFlex ="68px" class ="header" > Header</div > <div fxFlex fxLayout ="row" class ="main" > <div fxFlex ="200px" class ="aside" > Aside</div > <div fxFlex class ="content" > Content</div > </div > </div >
fxFill:fxFlexFill 的縮寫,表示填滿區域。fxLayout:內容項目排列方式,row 表示優先以水平排列;colunm 表示優先以垂直排列。fxFlex:有值時會以該值作為設定,無值時表示會佔用剩餘空間,其值會受到父元素的 fxLayout 屬性影響,當父元素為水平優先排列時(fxLayout='row'),fxFlex 會影響目前元素的寬度(width);當父元素為垂直優先排列時(fxLayout='colunm'),fxFlex 會影響目前元素的高度(height)。
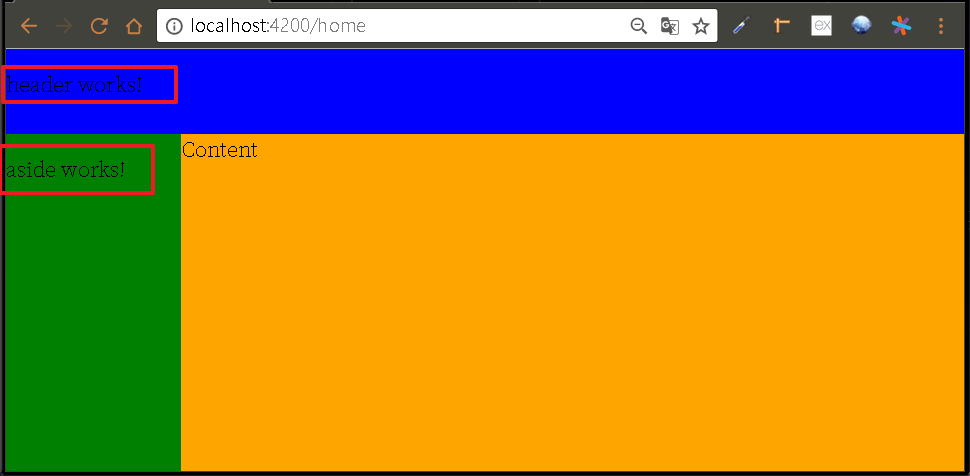
檢視執行結果。HeaderComponent 的 tag-app-header 與 AsideComponent 的 tag-app-aside 加入到 home.component.html。
home.component.html 1 2 3 4 5 6 7 8 9 10 11 <div fxFill fxLayout ="column" class ="layout" > <div fxFlex ="68px" class ="header" > <app-header > </app-header > </div > <div fxFlex fxLayout ="row" class ="main" > <div fxFlex ="200px" class ="aside" > <app-aside > </app-aside > </div > <div fxFlex class ="content" > Content</div > </div > </div >
再觀察結果應該就會發現2個元件的樣板已經套用進來了。
[**first-app_2017-09-01_2.zip**](/uploads/first-app_2017-09-01_2.zip)