Clarity Design System 因為多個一個新案子,所以就順便試試 VMware 所開發的 Clarity Design System
建立 Angular 專案 不知道怎麼建立的可以參考 建立 Angular 專案
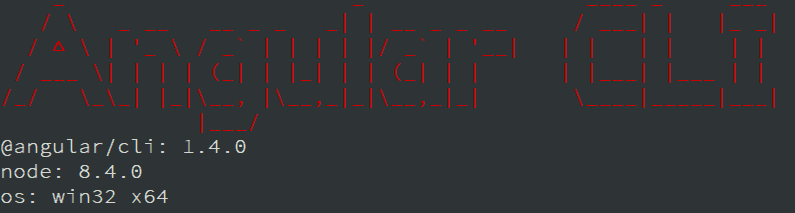
Node.js:8.4.0
Angular CLI:1.4.0
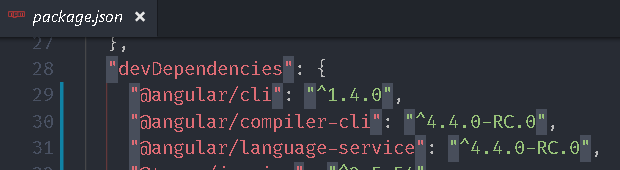
Angular:4.4.0-RC.0
https://vmware.github.io/clarity/get-started 。
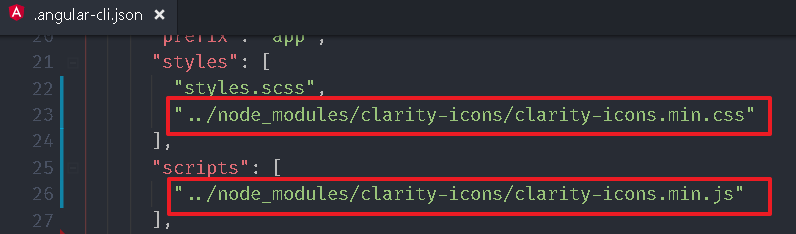
安裝圖示:Clarity Icons 安裝指令如下:npm install clarity-icons --save<link rel="stylesheet" href="path/to/node_modules/clarity-icons/clarity-icons.min.css"><script src="path/to/node_modules/clarity-icons/clarity-icons.min.js"></script>.angular-cli.json 內的 styles 以及 scripts 屬性。"../node_modules/clarity-icons/clarity-icons.min.css""../node_modules/clarity-icons/clarity-icons.min.js"
js 檔或是 css 檔連結來自 node_modules 時,筆者習慣都是加到 .angular-cli.json。
安裝 polyfill:webcomponents/custom-elements 安裝指令如下:npm install @webcomponents/custom-elements@1.0.0 --save<script src="path/to/node_modules/@webcomponents/custom-elements/custom-elements.min.js"></script>.angular-cli.json 內的 scripts 屬性。"../node_modules/@webcomponents/custom-elements/custom-elements.min.js"
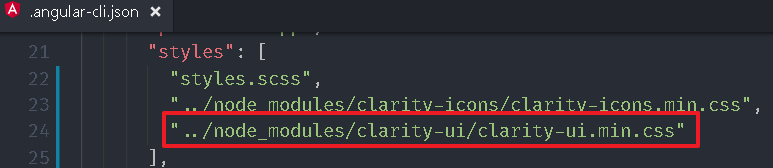
安裝 Clarity UI 安裝指令如下:npm install clarity-ui --save<link rel="stylesheet" href="path/to/node_modules/clarity-ui/clarity-ui.min.css">.angular-cli.json 方法,加到 styles 屬性:"../node_modules/clarity-ui/clarity-ui.min.css"
安裝 Clarity Angular 安裝指令如下:npm install clarity-angular --savesrc\app\app.module.ts 加入參考。
app.module.ts 1 2 3 4 5 6 7 8 9 10 11 12 13 14 15 16 17 18 19 20 21 import { BrowserModule } from '@angular/platform-browser' ;import { NgModule } from '@angular/core' ;import { ClarityModule } from 'clarity-angular' ;import { AppRoutingModule } from './app-routing.module' ;import { AppComponent } from './app.component' ;@NgModule ({ declarations : [ AppComponent ], imports : [ BrowserModule, AppRoutingModule, ClarityModule.forRoot() ], providers : [], bootstrap : [AppComponent] }) export class AppModule
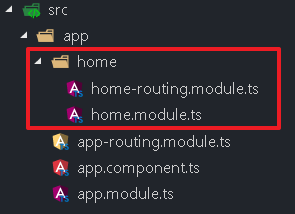
建立首頁 新增一個模組-HomeModule ,指令如下:ng g m home --routingHomeModule 加入到 src\app\app.module.ts 內。
app.module.ts 1 2 3 4 5 6 7 8 9 10 11 12 13 14 15 16 17 18 19 20 21 22 23 import { BrowserModule } from '@angular/platform-browser' ;import { NgModule } from '@angular/core' ;import { ClarityModule } from 'clarity-angular' ;import { AppRoutingModule } from './app-routing.module' ;import { AppComponent } from './app.component' ;import { HomeModule } from './home/home.module' ;@NgModule ({ declarations : [ AppComponent ], imports : [ BrowserModule, AppRoutingModule, ClarityModule.forRoot(), HomeModule ], providers : [], bootstrap : [AppComponent] }) export class AppModule
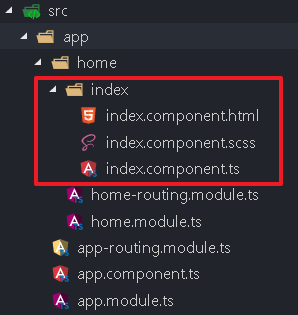
在 home 資料夾下新增一個元件-IndexComponent ,指令如下:ng g c home\index
IndexComponent 會自動被註冊到 HomeModule 。src\app\home\home-routing.module.ts,加入路由規則。
home-routing.module.ts 1 2 3 4 5 6 7 8 9 10 11 12 13 14 import { NgModule } from '@angular/core' ;import { Routes, RouterModule } from '@angular/router' ;import { IndexComponent } from './index/index.component' ;const routes: Routes = [ { path : '' , component : IndexComponent, children : [] } ]; @NgModule ({ imports : [RouterModule.forChild(routes)], exports : [RouterModule] }) export class HomeRoutingModule
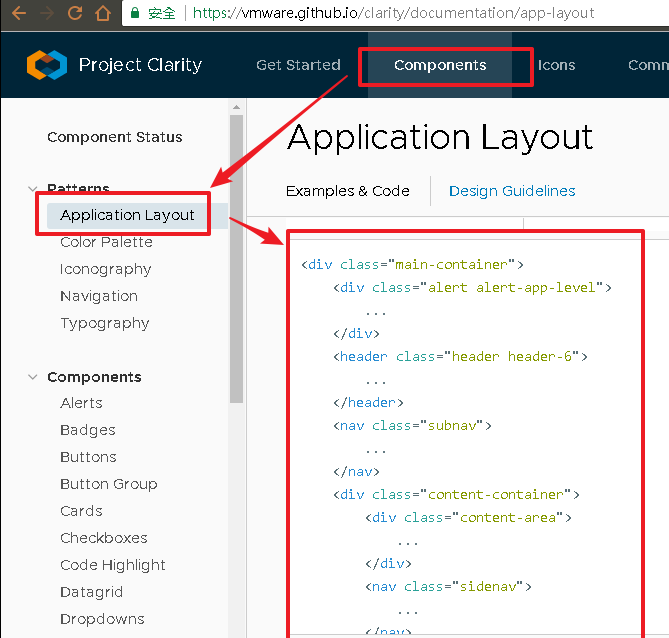
查看網站可以發現官方已經提供一個版面-Application Layout 。src\app\home\index\index.component.html,並在每個 div 區段內加入文字註解。
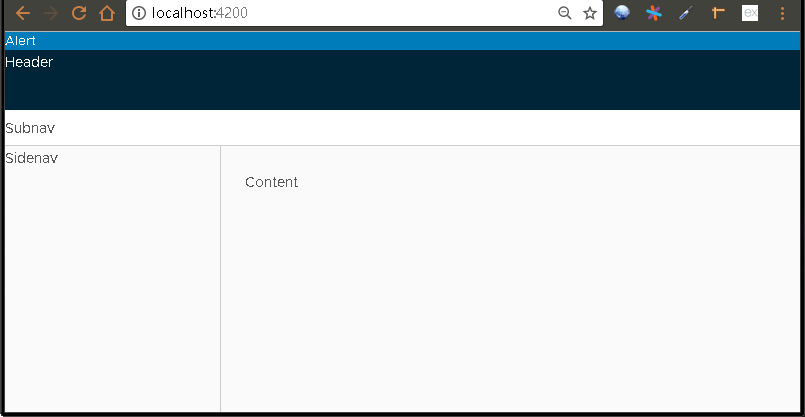
index.component.html 1 2 3 4 5 6 7 8 9 10 11 12 13 14 15 16 17 18 19 20 <div class ="main-container" > <div class ="alert alert-app-level" > Alert </div > <header class ="header header-6" > Header </header > <nav class ="subnav" > Subnav </nav > <div class ="content-container" > <div class ="content-area" > Content </div > <nav class ="sidenav" > Sidenav </nav > </div > </div >
透過 ng serve 啟動,並開啟瀏覽器觀看結果。
因為今天早上看到 Angular CLI 的 1.4.0 版已經 release 所以就直接更新,開發過程卻因此發生一些問題:
在 .angular-cli.json 關閉 spec,但是單元測試檔仍然會被建立。
style 設成 scss,但是建立元件時樣式檔卻是 .css。
所以如果不能忍受 bug 的人,建議晚幾個禮拜確定沒有災情發生後再更新。
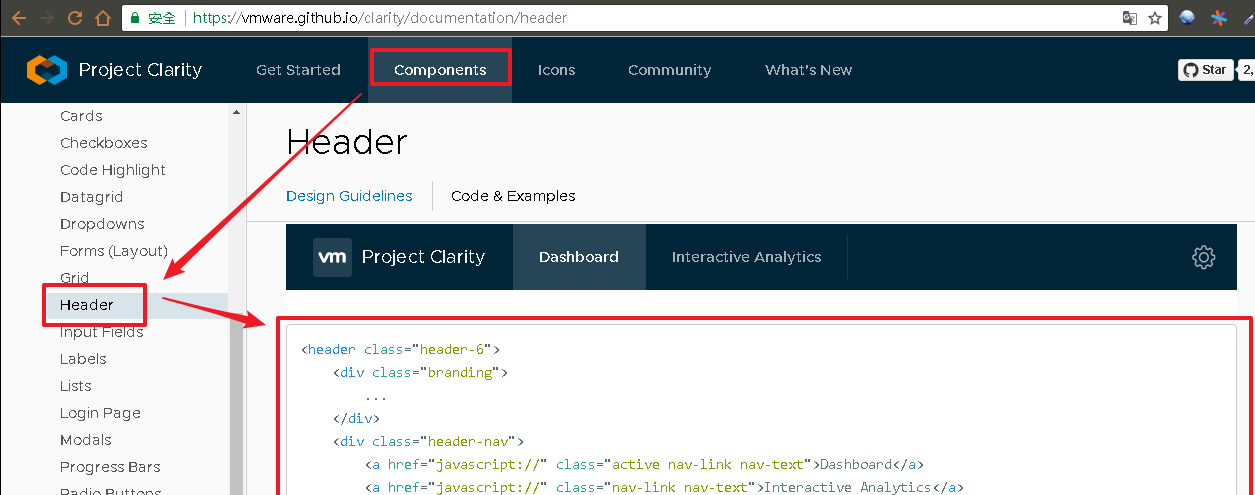
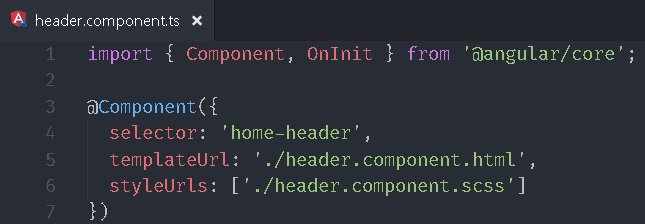
建立 Header元件 指令如下:ng g c home\headerHeader 範例:
header.component.html 1 2 3 4 5 6 7 8 9 10 11 12 13 14 15 16 17 18 19 20 21 22 23 24 25 26 27 28 29 30 31 32 33 34 35 36 <header class ="header header-6" > <div class ="branding" > <a href ="..." class ="nav-link" > <clr-icon shape ="vm-bug" > </clr-icon > <span class ="title" > Project Clarity</span > </a > </div > <div class ="header-nav" > <a href ="..." class ="nav-link nav-icon" > <clr-icon shape ="cloud" > </clr-icon > </a > <a href ="..." class ="active nav-link nav-icon" > <clr-icon shape ="folder" > </clr-icon > </a > </div > <form class ="search" > <label for ="search_input" > <input id ="search_input" type ="text" placeholder ="Search for keywords..." > </label > </form > <div class ="header-actions" > <clr-dropdown > <button class ="nav-icon" clrDropdownTrigger > <clr-icon shape ="user" > </clr-icon > <clr-icon shape ="caret down" > </clr-icon > </button > <clr-dropdown-menu *clrIfOpen clrPosition ="bottom-right" > <a href ="..." clrDropdownItem > About</a > <a href ="..." clrDropdownItem > Preferences</a > <a href ="..." clrDropdownItem > Log out</a > </clr-dropdown-menu > </clr-dropdown > </div > </header >
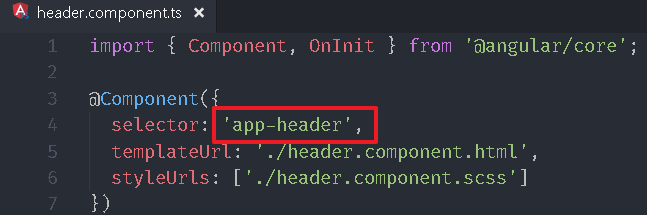
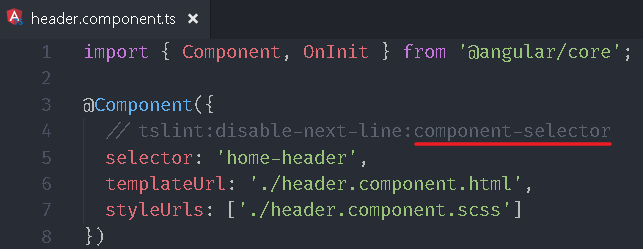
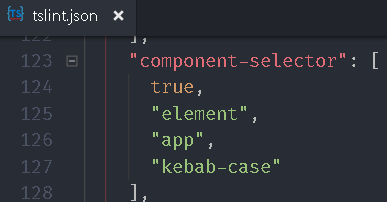
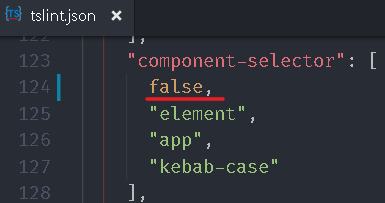
修改 component-selector 在專案內預設元件的 selector 屬性都是 app- 開頭,如果整個專案元件很多時,會變得有點多餘。tslint 的 component-selector 檢查機制才能修改。// tslint:disable-next-line:component-selectortslint 的設定檔-tslint.json,用關鍵字 component-selector 搜尋,可以發現如下的設定:true 改成 false,這樣就會忽略檢查。header.component.ts 拿掉註解也不會出現錯誤。src\app\home\index\index.component.html,插入 HeaderComponent 。
index.component.html 1 2 3 4 5 6 7 8 9 10 11 12 13 14 15 16 17 18 <div class ="main-container" > <div class ="alert alert-app-level" > Alert </div > <home-header > </home-header > <nav class ="subnav" > Subnav </nav > <div class ="content-container" > <div class ="content-area" > Content </div > <nav class ="sidenav" > Sidenav </nav > </div > </div >
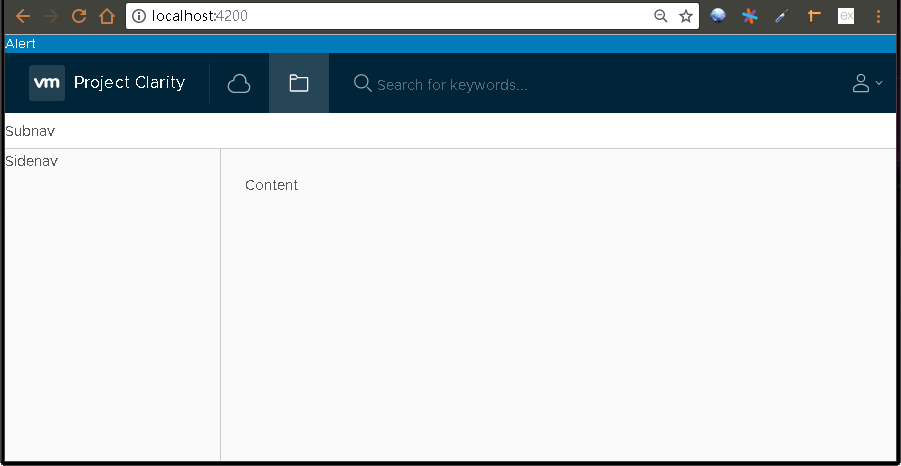
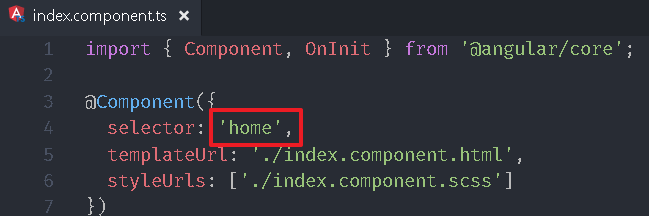
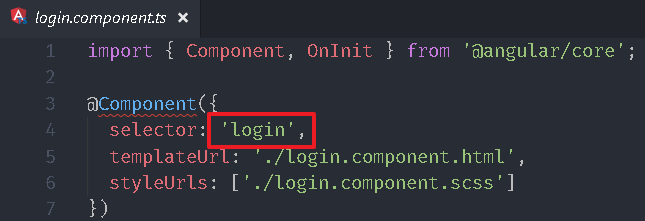
開啟瀏覽器檢視結果。src\app\home\index\index.component.ts,將 selector 屬性設為 'home'。
selector 命名如果分類的好,後續其他專案可以整個模組資料夾複製過去沿用,因此應避免名稱容易重複的命名規則。
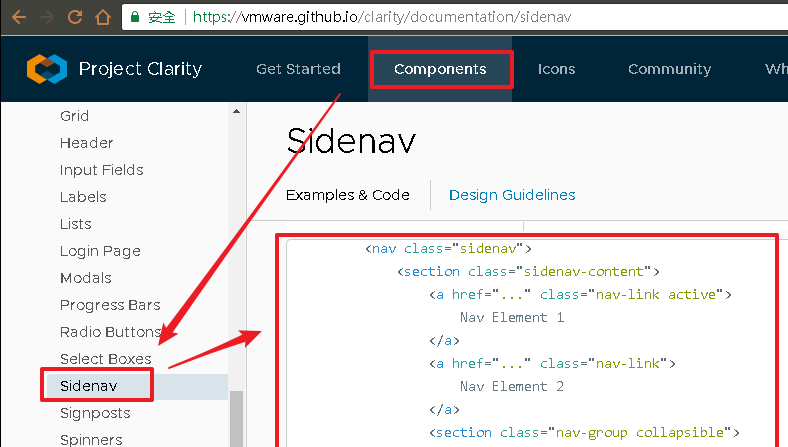
Sidenav 如同 Header 步驟,我們先建立一個 SidenavComponent ,並將 selector 設定為 'home-sidenav'。ng g c home\sidenavSidenav 範例 複製至 src\app\home\sidenav\sidenav.component.html。
sidenav.component.html 1 2 3 4 5 6 7 8 9 10 11 12 13 14 15 16 17 18 19 20 21 22 23 24 25 26 27 28 29 30 31 <nav class ="sidenav" > <section class ="sidenav-content" > <a href ="..." class ="nav-link active" > Nav Element 1 </a > <a href ="..." class ="nav-link" > Nav Element 2 </a > <section class ="nav-group collapsible" > <input id ="tabexample1" type ="checkbox" > <label for ="tabexample1" > Collapsible Nav Element</label > <ul class ="nav-list" > <li > <a class ="nav-link" > Link 1</a > </li > <li > <a class ="nav-link" > Link 2</a > </li > </ul > </section > <section class ="nav-group" > <input id ="tabexample2" type ="checkbox" > <label for ="tabexample2" > Default Nav Element</label > <ul class ="nav-list" > <li > <a class ="nav-link" > Link 1</a > </li > <li > <a class ="nav-link" > Link 2</a > </li > <li > <a class ="nav-link active" > Link 3</a > </li > <li > <a class ="nav-link" > Link 4</a > </li > <li > <a class ="nav-link" > Link 5</a > </li > <li > <a class ="nav-link" > Link 6</a > </li > </ul > </section > </section > </nav >
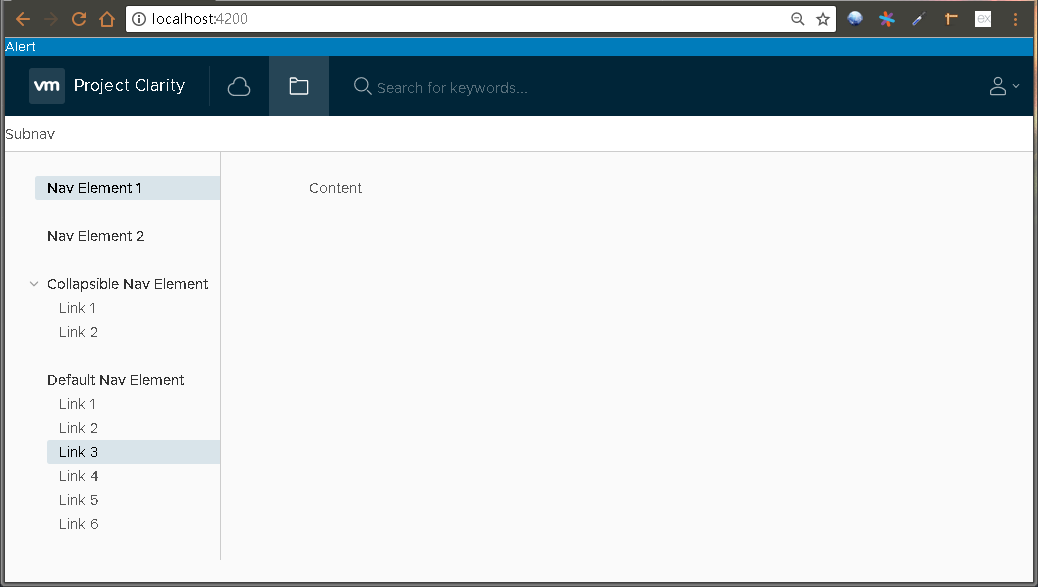
開啟 src\app\home\index\index.component.html,插入 SidenavComponent 。
index.component.html 1 2 3 4 5 6 7 8 9 10 11 12 13 14 15 16 <div class ="main-container" > <div class ="alert alert-app-level" > Alert </div > <home-header > </home-header > <nav class ="subnav" > Subnav </nav > <div class ="content-container" > <home-sidenav > </home-sidenav > <div class ="content-area" > Content </div > </div > </div >
開啟瀏覽器檢視結果。
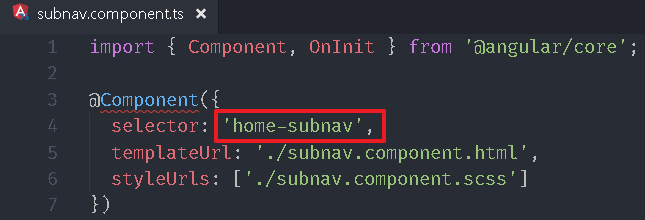
Tabs 再來筆者選用官方元件-Tabs ,來取代 Subnav 區塊,方法與之前雷同。ng g c home\subnavsrc\app\home\subnav\subnav.component.html。
subnav.component.html 1 2 3 4 5 6 7 8 9 10 11 12 13 14 15 16 17 18 19 20 21 <ul id ="demoTabs" class ="nav" role ="tablist" > <li role ="presentation" class ="nav-item" > <button id ="tab1" class ="btn btn-link nav-link active" aria-controls ="panel1" aria-selected ="true" type ="button" > Dashboard</button > </li > <li role ="presentation" class ="nav-item" > <button id ="tab2" class ="btn btn-link nav-link" aria-controls ="panel2" aria-selected ="false" type ="button" > Management</button > </li > <li role ="presentation" class ="nav-item" > <button id ="tab3" class ="btn btn-link nav-link" aria-controls ="panel3" aria-selected ="false" type ="button" > Cloud</button > </li > </ul > <section id ="panel1" role ="tabpanel" aria-labelledby ="tab1" > ... </section > <section id ="panel2" role ="tabpanel" aria-labelledby ="tab2" aria-hidden ="true" > ... </section > <section id ="panel3" role ="tabpanel" aria-labelledby ="tab3" aria-hidden ="true" > ... </section >
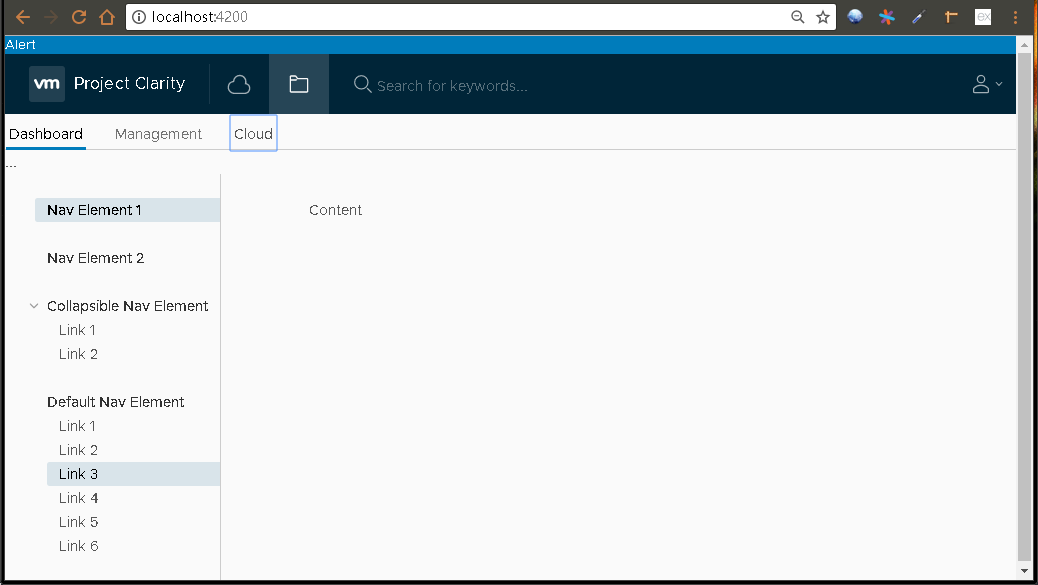
編輯 src\app\home\index\index.component.html。
index.component.html 1 2 3 4 5 6 7 8 9 10 11 12 13 14 <div class ="main-container" > <div class ="alert alert-app-level" > Alert </div > <home-header > </home-header > <home-subnav > </home-subnav > <div class ="content-container" > <home-sidenav > </home-sidenav > <div class ="content-area" > Content </div > </div > </div >
開啟瀏覽器檢視結果。
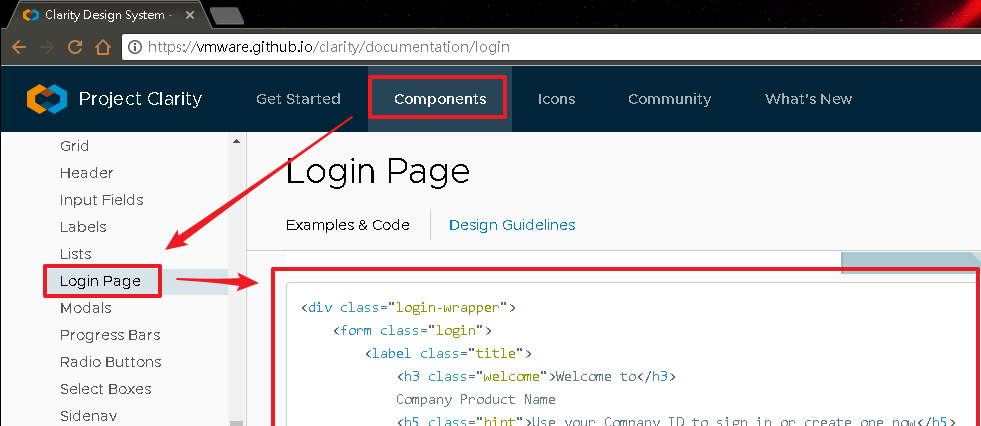
Login Page 切換到 Login Page ,沒看錯, Clarity Design System 直接提供一個 login page,建立一個 LoginComponent 來對應。ng g c loginsrc\app\login\login.component.html。
login.component.html 1 2 3 4 5 6 7 8 9 10 11 12 13 14 15 16 17 18 19 20 21 22 23 24 25 26 27 28 29 30 31 <div class ="login-wrapper" > <form class ="login" > <label class ="title" > <h3 class ="welcome" > Welcome to</h3 > Company Product Name <h5 class ="hint" > Use your Company ID to sign in or create one now</h5 > </label > <div class ="login-group" > <div class ="auth-source select" > <select id ="login-auth-source-1" > <option > Local Users</option > <option > Administrator</option > </select > </div > <input class ="username" type ="text" id ="login_username" placeholder ="Username" > <input class ="password" type ="password" id ="login_password" placeholder ="Password" > <div class ="checkbox" > <input type ="checkbox" id ="rememberme" > <label for ="rememberme" > Remember me </label > </div > <div class ="error active" > Invalid user name or password </div > <button type ="submit" class ="btn btn-primary" > NEXT</button > <a href ="javascript://" class ="signup" > Sign up for a Company ID</a > </div > </form > </div >
編輯 src\app\app-routing.module.ts,插入 login 的路由規則。
app-routing.module.ts 1 2 3 4 5 6 7 8 9 10 11 12 13 14 import { NgModule } from '@angular/core' ;import { Routes, RouterModule } from '@angular/router' ;import { LoginComponent } from './login/login.component' ;const routes: Routes = [ { path : 'login' , component : LoginComponent} ]; @NgModule ({ imports : [RouterModule.forRoot(routes)], exports : [RouterModule] }) export class AppRoutingModule
執行專案,瀏覽 http://localhost:4200/login。
[**genesis_2017-09-08.zip**](/uploads/genesis_2017-09-08.zip)